Shoe cubby how-to
The hallway shoe cubby, by request. The first thing I built entirely on my own.
Here it is at last: the shoe cubby in the hall.
This was one of the first units I built completely by myself, out of MDF like most of the built-ins here, primed and painted white like all the rest. The fact that I managed it is the point, I am not a joiner. I just prefer making the thing I need to hunting for one the right size.
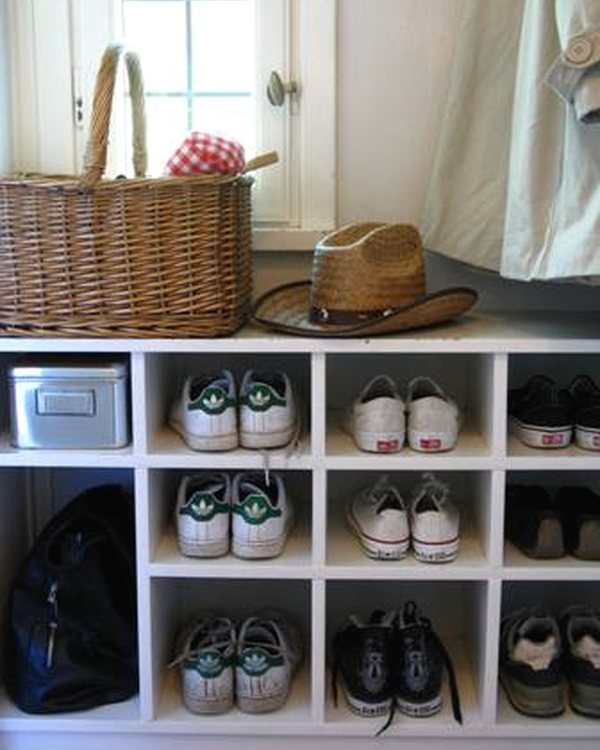
It sits in a nook immediately to the right of the front door, so it needs no sides at all. To make it freestanding you would simply add them.
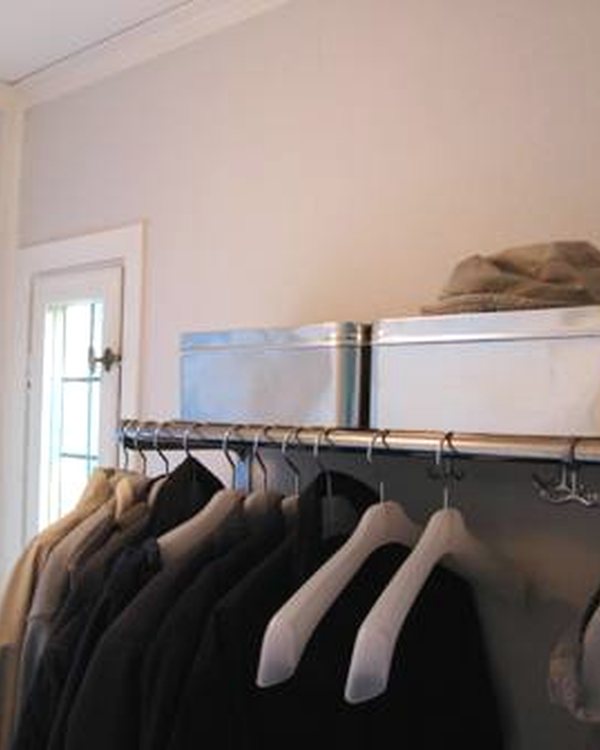
Start by measuring what goes in it
As with everything else in this house: measure the contents, not the gap.
I measured the largest pairs of shoes in the household, then added a little. Partly for better proportions, partly so winter boots and wider shoes still fit.
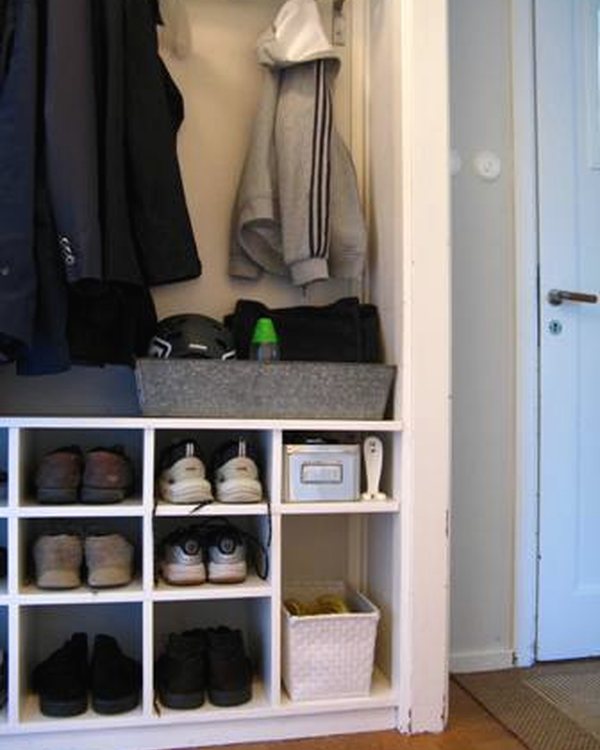
That gave two rows for low shoes and a deeper bottom row for boots. There are also two double-height cubbies, which take bags or tall boots in winter and a basket of flip-flops in summer. Two more hold metal boxes: shoe polish in one, and in the other umbrellas, cat collars and lint rollers.
Dimensions
- Cubby width: 240 mm (9½ in)
- Top two rows, height: 155 mm (6 in)
- Bottom row, height: 230 mm (9 in)
- Depth: 320 mm (12¾ in)
The trick worth knowing
Let the top and base overhang by about 18 mm (¾ in), and the shelves by about 6 mm (¼ in).
This is not a styling decision. It is what absorbs your measuring errors. If the shelves are meant to finish flush with the front edge, every shelf that is two millimetres out is visible along the whole run. Set them back deliberately and nobody can tell that one of them is slightly off, and in a house like ours, where there is not a true right angle anywhere, one of them always is.
Assembly
From the bottom up, a layer at a time.
Each piece cut with a circular saw, the cut edges taken down with an electric plane and then sanded smooth before anything went together. MDF cuts cleanly but the edges are rough and drink paint if you leave them.
Then prime, and paint.
Filed under DIY