The radiator cover, part II
The frame was built last time. Now it gets its caning.
Last time the frame and top were built and assembled. This time it gets painted and caned.
Soak the caning
Wet the caning before you do anything with it. Soak it for a while until it is soft and manageable. I have a tub for exactly this sort of job now, which after years of doing it in the kitchen sink is a small daily pleasure.
The frame opens completely, and I only painted the front of it. Nobody sees the back, and there is a limit.
The yellow stripes visible on the wall in the photographs are where I had to take off some oddly placed corner trim so the frame could tilt out. Touched up with white afterwards.
Stapling
Staple the wet caning to the back of the frame.
Use far more staples than you think you need. This is the whole thing. As the caning dries it shrinks, and wherever the staples are sparse it will pull, and you get a wave between one fixing and the next instead of an even face.

The caning I could get was not wide enough for the opening, so the frame is done in two sections with the join on a rail.
Straight after stapling it looks slightly bubbly and loose, and this is exactly why it goes on wet: as it dries it tightens to a drum. You could genuinely play a rhythm on it.

Why it opens
Two reasons, both practical.
The temperature knob has to be reachable. A radiator cover that seals the valve away is a cover you take off again in March.
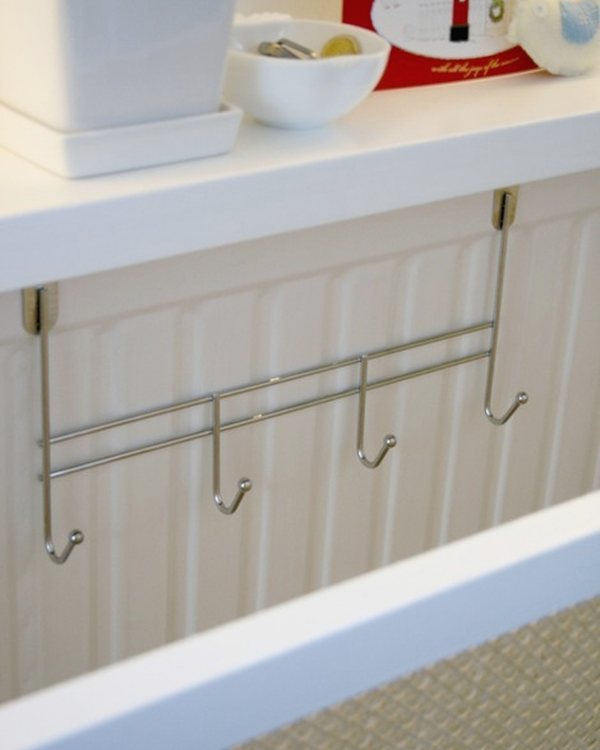
And a radiator in a hall is where wet mittens dry. I did not want to lose that, so there is a cheap over-the-door hanger simply hooked over the top of the radiator behind the cover. Mittens dry out of sight.

Ventilation
Several people asked, sensibly, how the hot air was supposed to get out of the top.
So there are now holes drilled through the top: a row of inch-wide holes, centred, letting the air off the radiator rise out rather than collecting under a solid lid.
Filed under DIY