Bedside table how-to
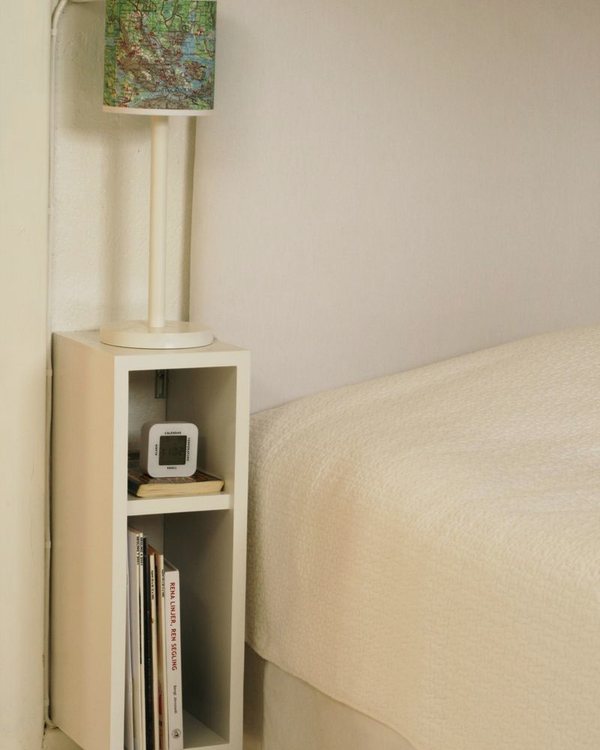
As promised, how the bedside table from Friday was built.
The instructions for the bedside table in Friday’s post.
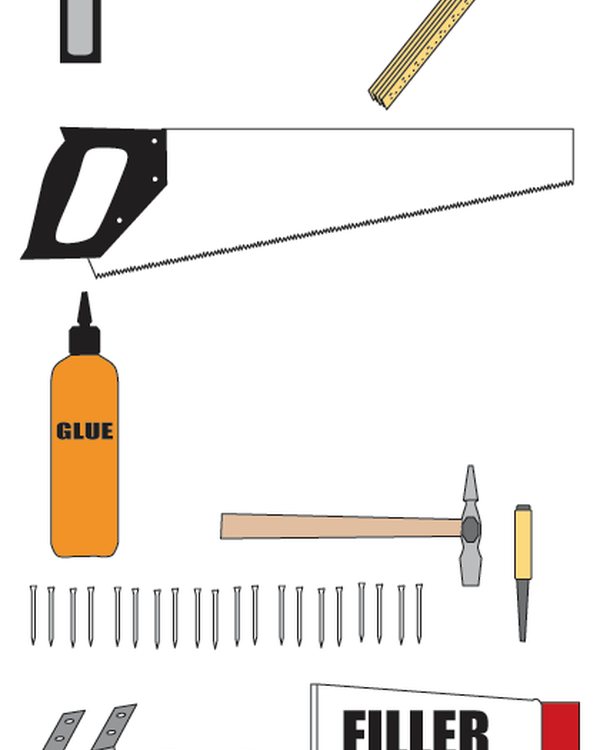
Tools
A set square, a rule or tape, a saw, hand or power, it does not matter at this size, wood glue, a hammer, a centre punch, nails, angle irons, screws and a screwdriver.
An awl is not in the photograph and should be. It is worth owning and it is useful here.
Also not pictured: a sander or sandpaper, and some effort.
The pieces
No measurements, deliberately. The whole point of building one is that it fits the space you have. Ours suits the gap beside the bed and yours will not.
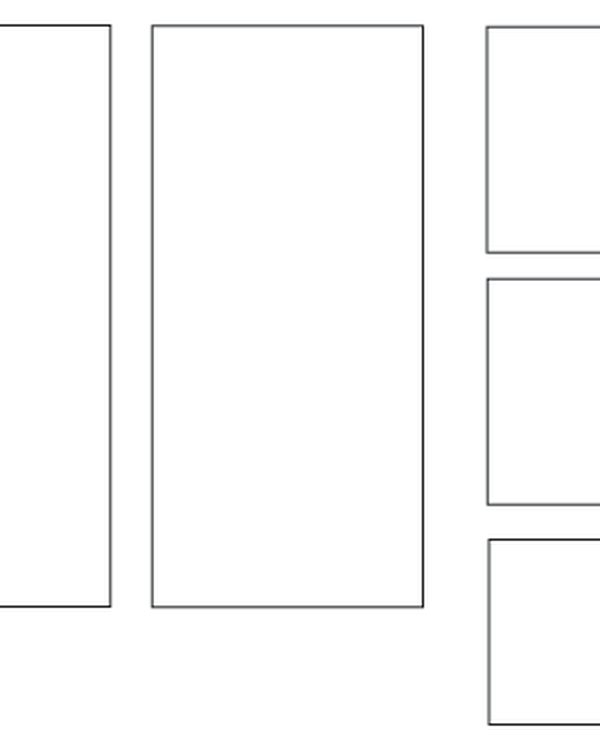
We used MDF, cut and sanded before assembly. Five pieces:
- Two identical sides
- Two identical pieces for top and bottom
- One smaller piece for the shelf. About 2.5 cm (1 in) shallower than the others, and shorter by twice the thickness of the material, so it fits between the sides
That second measurement is the one people get wrong. The shelf sits between the two sides, so it loses a material thickness at each end.
Assembly
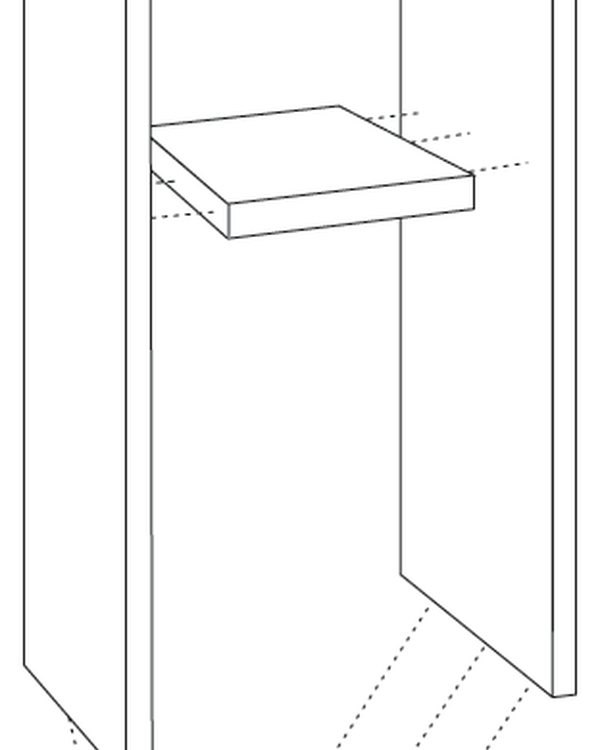
Glue and nails, one joint at a time.
Put glue on one surface, bring the pieces together, nail, and keep the set square on it the whole time. MDF will happily go together a couple of degrees out and you will not see it until it is on the wall.
Once the nails are in, use the centre punch to drive each head just below the surface.
Finishing
Let the glue cure for as long as the bottle says, not as long as you feel like.
Fill the little dimples left by the punch, sand the whole thing, prime it, and paint it whatever colour you want.
Hang it on angle irons. Ours rests on the skirting board, which takes the weight and, more usefully, leaves just enough clearance underneath for the vacuum to get past.
Filed under DIY