A rack made from cupboard knobs
The photo knobs finally have a job.
Some time ago I had knobs made with maps on them, and a second set printed with black and white family photographs. The metal ones have a much more substantial weight to them than the clear versions I tried first. Worth knowing if you are ordering, because the pictures do not tell you that.
They have been in a drawer waiting for a use. The use is a new rack, replacing one that works perfectly and is extremely boring.
The board
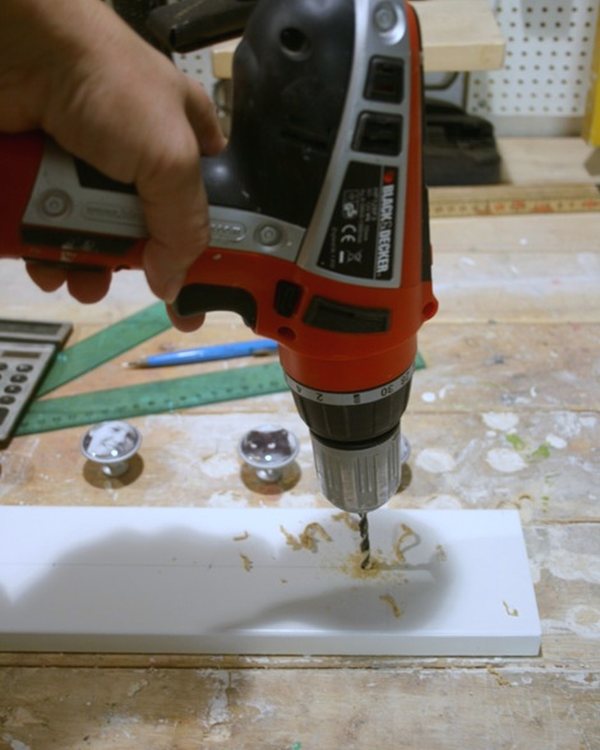
A piece of MDF that had been in the garage for years, already the right size and already painted white. This never happens.
Find the centre, work out the spacing between knobs from the width, and mark it in pencil. Do the arithmetic from the centre outwards rather than measuring in from one end. That way an error lands symmetrically instead of pushing everything to one side.
Drill for the screws that came with the knobs.
Making it sit flat
Two bits of recessing, and they are the difference between a rack that hangs properly and one that stands a few millimetres off the wall.
The knob screws. Counterbore the holes from the back with a fatter bit, just deep enough to swallow the screw heads.
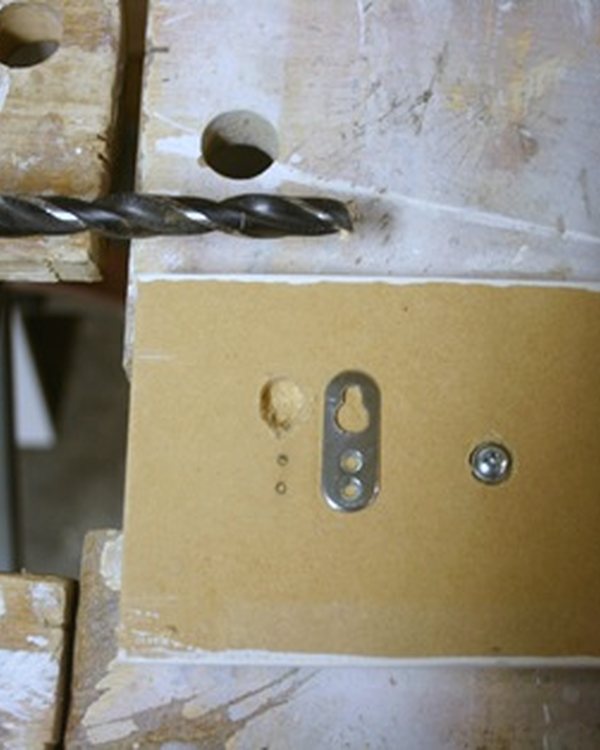
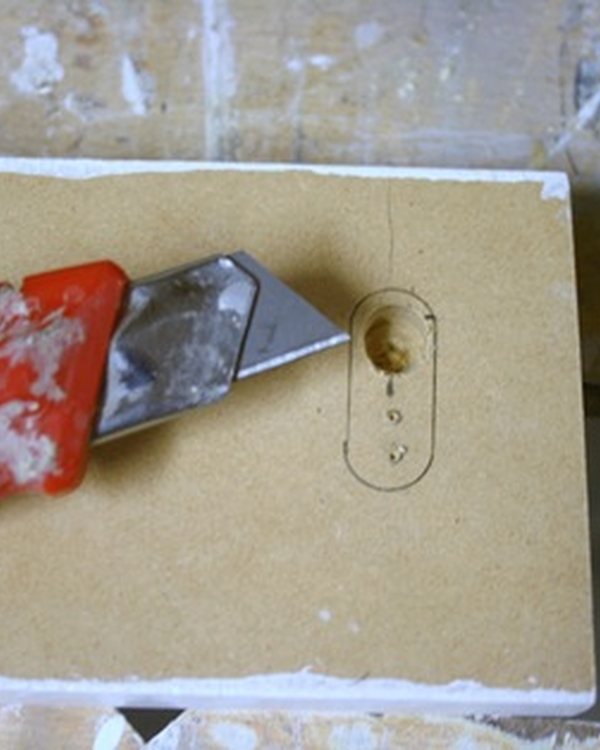
The hanging plates. Score around the pencil outline of each plate with a craft knife first, then pare out the waste inside with a narrow chisel. Only as deep as the plate is thick. Scoring first stops the chisel tearing the MDF beyond the line.
While the fatter bit is in the drill, also bore a recess at the back of each plate position so the head of the wall screw has somewhere to sit.
Then fit the plates with their own small screws.
One thing I did in the wrong order
I had already fitted the knobs to the front before doing any of the drilling, which meant working around them.
Put the knobs on last. The board is much easier to clamp, drill and chisel while it is flat and bare.
A proper look at it tomorrow.